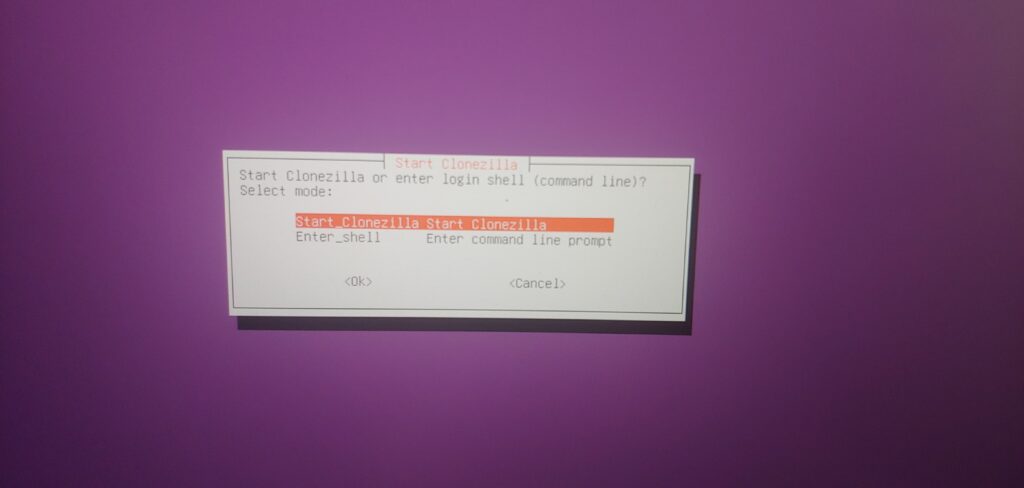
Let me start with a disclaimer: I don’t have external capture hardware, therefore I had to take pictures of my screen with a camera rather than direct screen captures.
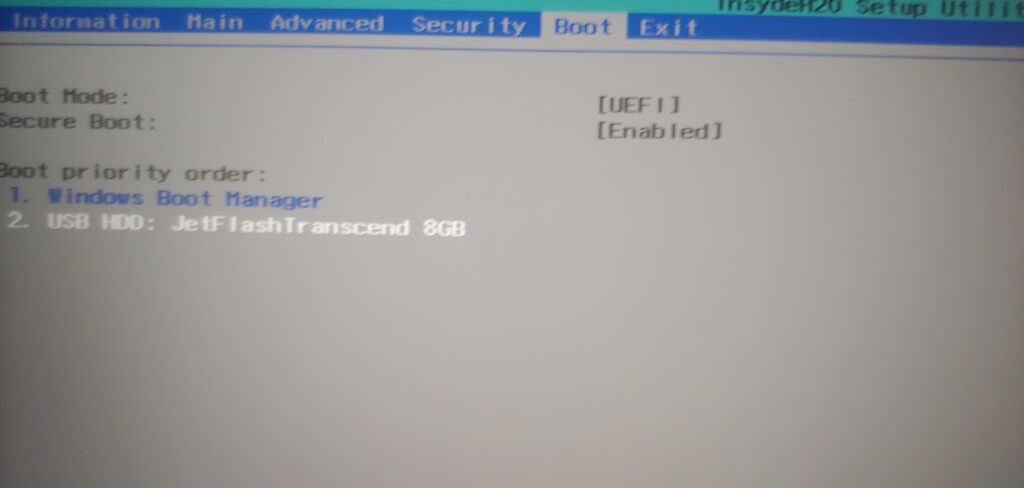
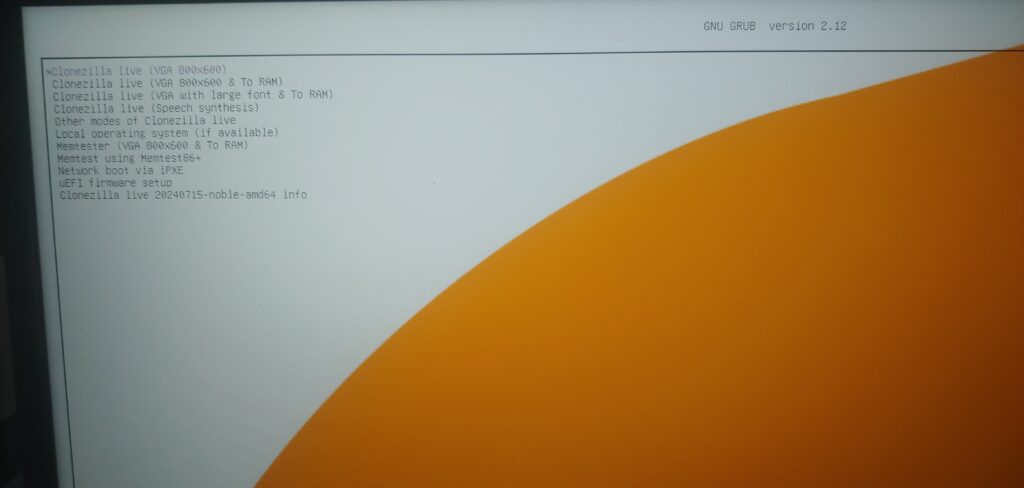
First things first, I had to change the boot order in BIOS so that I could boot from my USB drive. Then I could boot into Clonezilla from Ventoy and dive into the fun.
Next I needed to create a backup image onto a USB drive, in this case I used a 256GB drive which could comfortably hold a 128GB drive backup.
Now, the reason I needed to do a drive backup and restore is because I wanted to upgrade my laptop’s SSD. The SSD it came with was only 128GB. The replacement SSD is 512GB. Part of the reason I wanted more drive space was so that I’d have room to dual boot Windows and Linux. A 128GB drive is a pretty tight fit for two operating systems and unfortunately there’s only one NVME slot so I couldn’t just add an SSD, at least not internally.
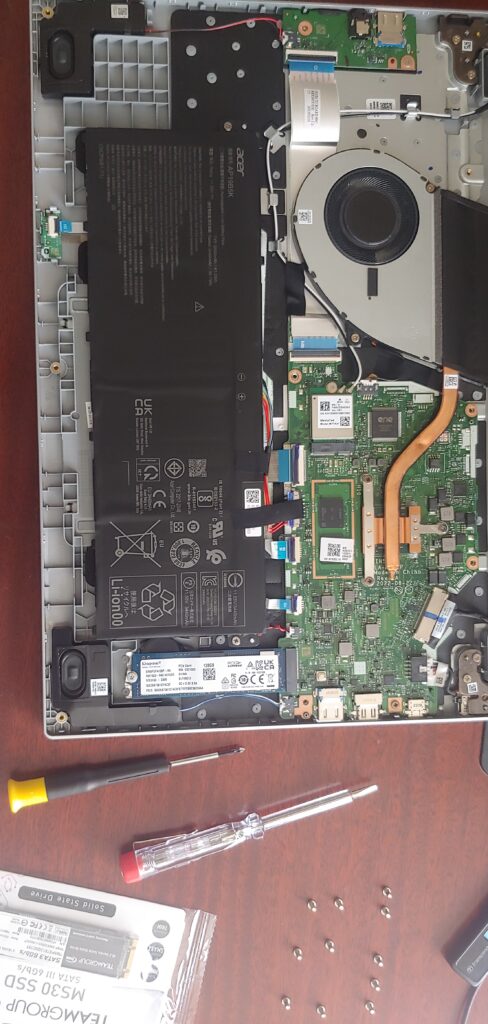
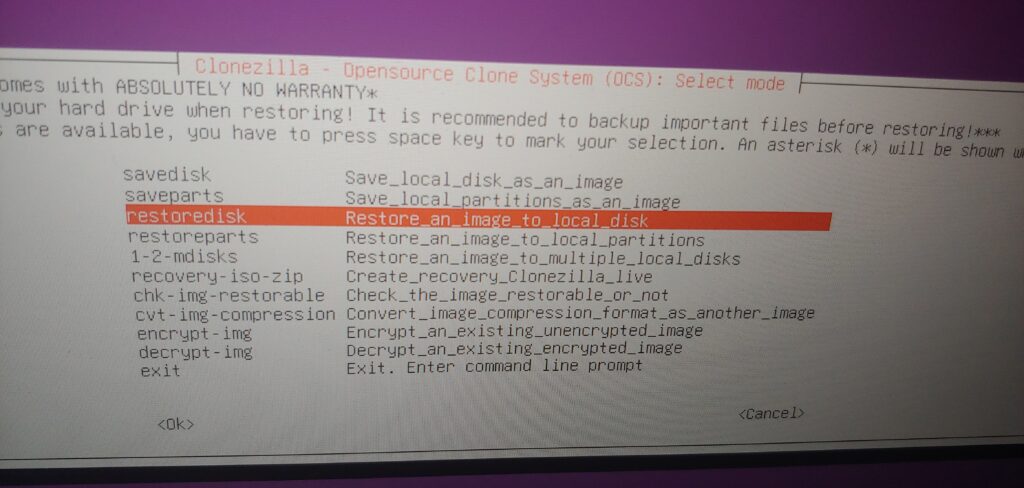
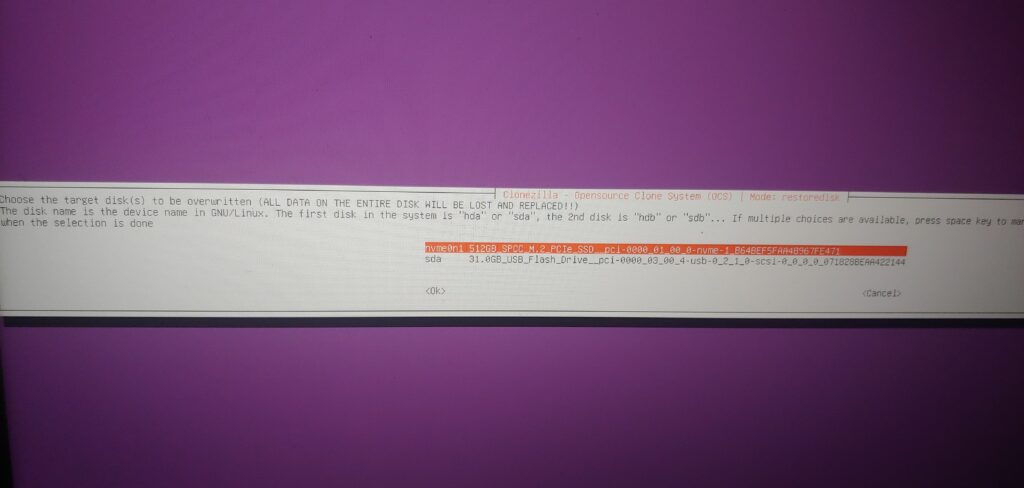
Drive replaced, it’s time to load the backup image onto the new SSD.